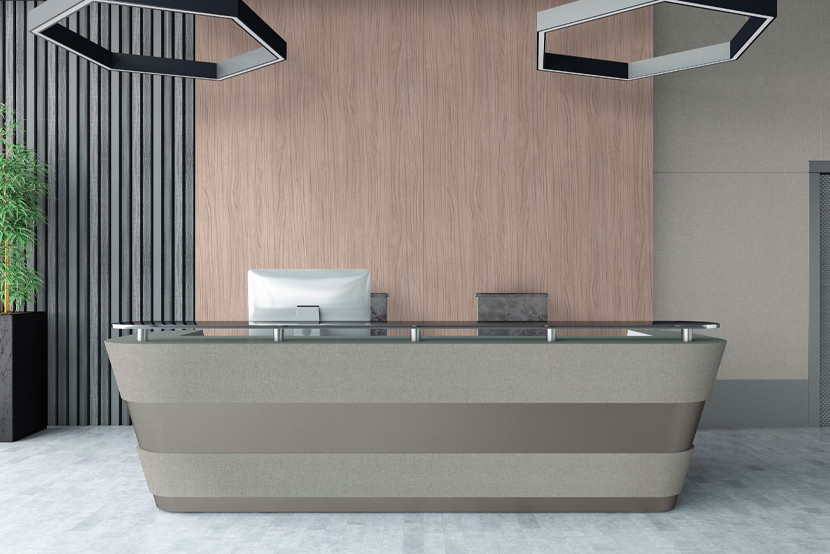


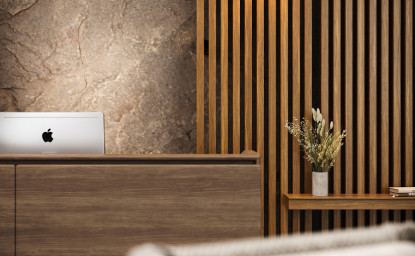
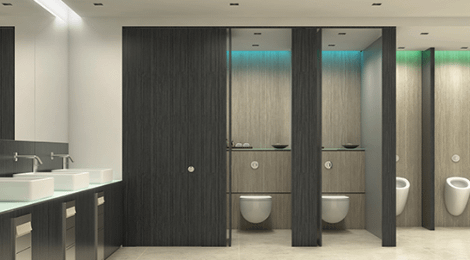
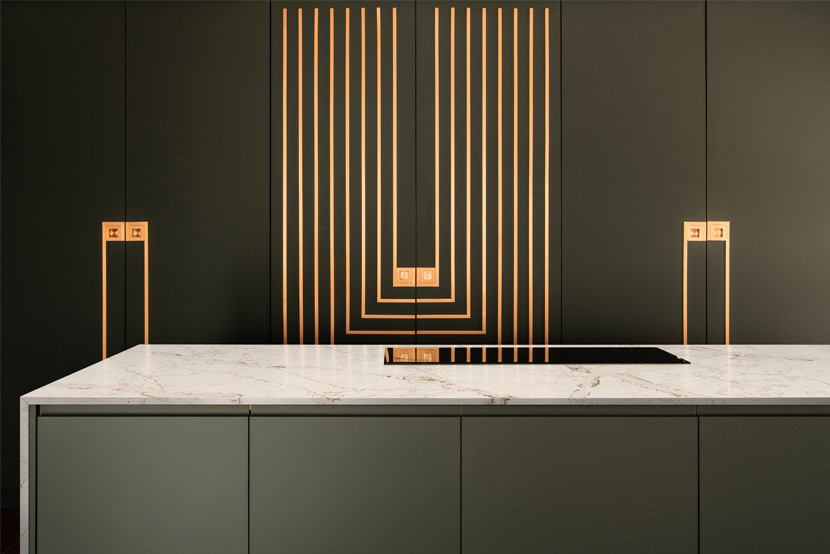
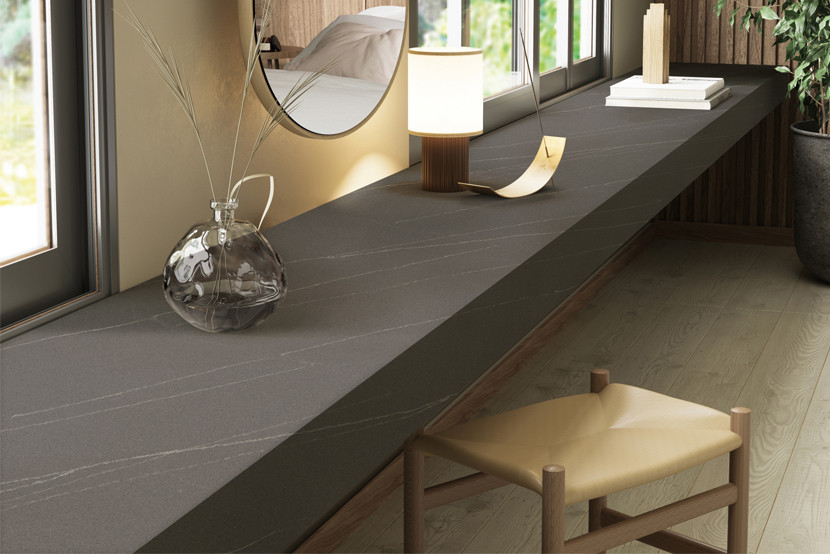
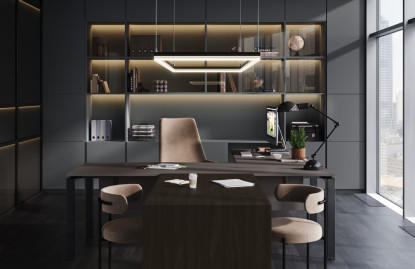
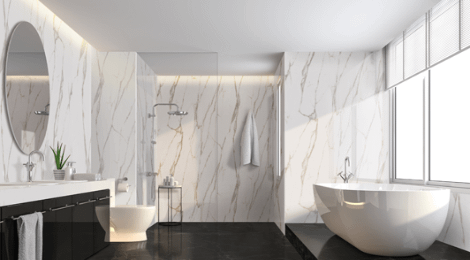
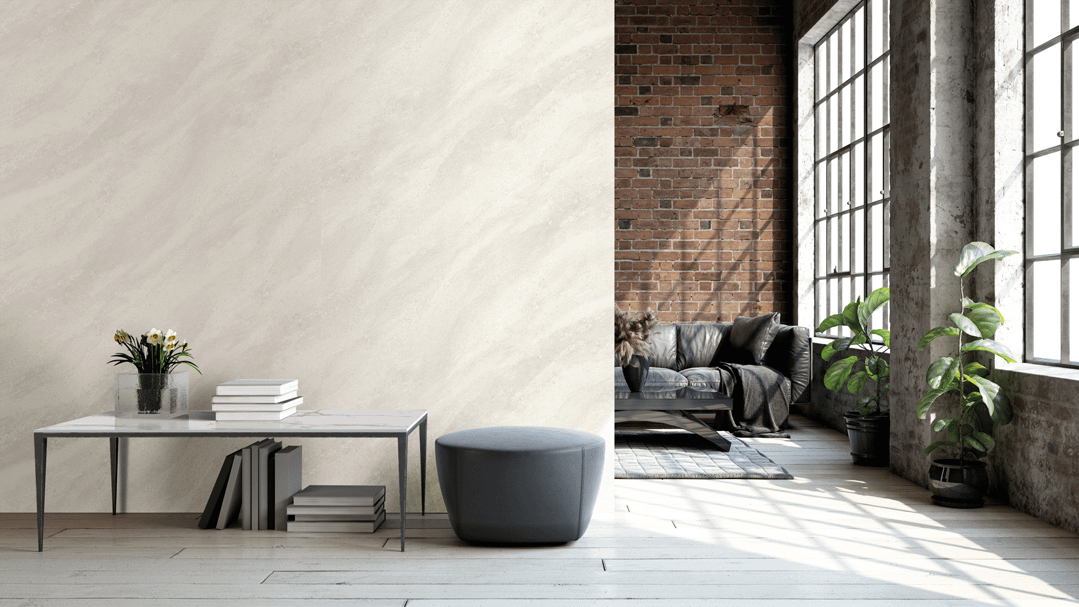
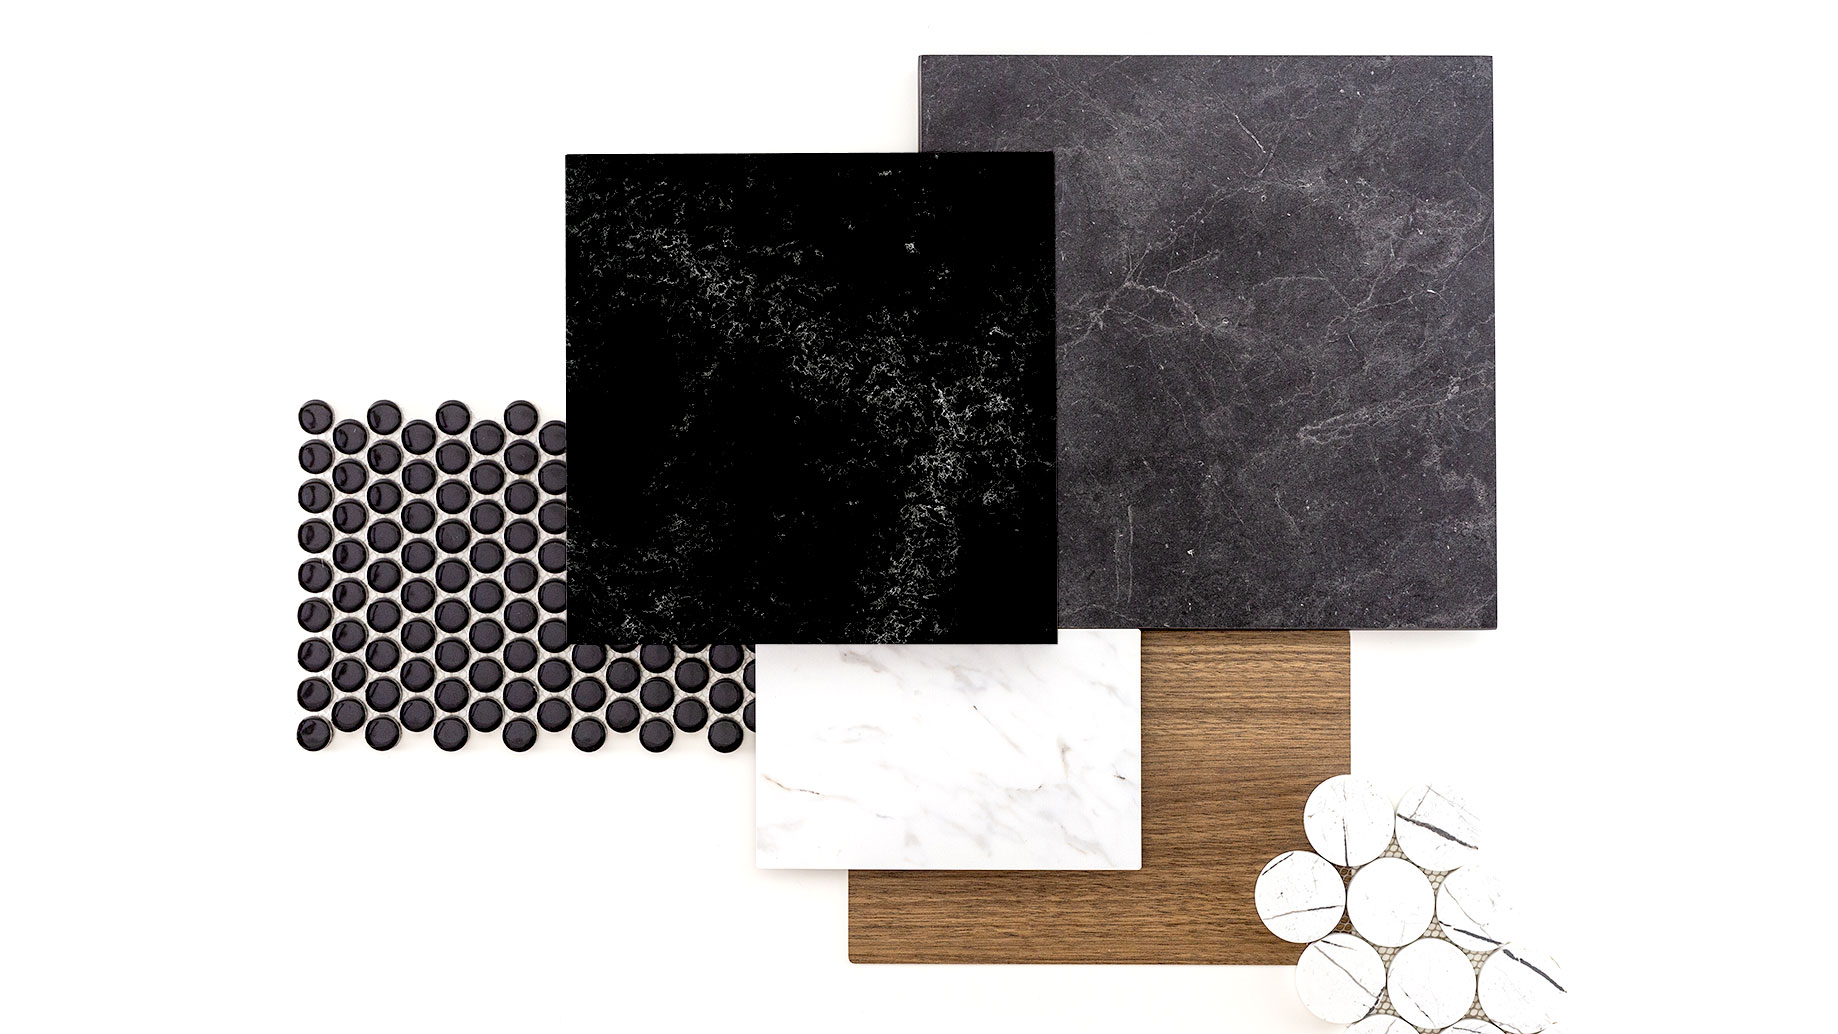
The Wilsonart® portfolio is broad and diverse. Explore solutions that elevate contemporary or traditional styles with stunning visual appeal and craftsmanship that stands up to everyday life. No matter your project, there's a Wilsonart® surface prepared to perform.
Your legacy, more sustainable.
Sustainability beneath the surface.
At Wilsonart, Mother Nature guides our purpose. Sustainability isn't an aspect of what we do. It's part of who we are. By creating better, stronger, more sustainable surfaces, we are engineering a better way.
 WATCH
WATCH
Stay
Connected.
Sign up to get interesting news and updates about new products, tools, and inspiration delivered to your inbox.

Why
engineered
surfaces?
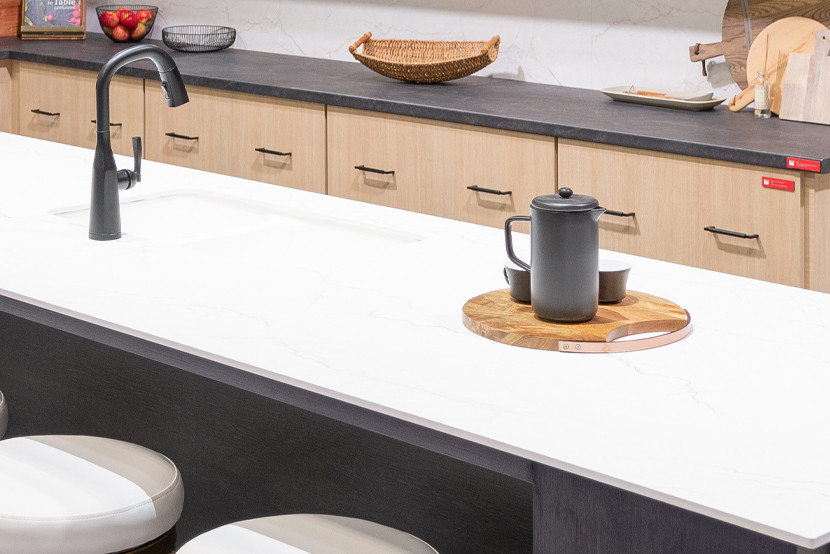
An engineered surface from Wilsonart outperforms traditional granite, marble, and tile surfaces in many areas. Our solutions serve your specific needs with superior cleanability, long-term durability, and simple maintenance. A Wilsonart engineered surface is the everyday choice that lasts long into the future.
Let's start your project.
Your project, ready for a partner.
Together.
Ready to use Wilsonart for your next project? Find the perfect surface solution by ordering a sample or contacting a Wilsonart representative.
Order a sample.
With a specific surface solution in hand, you can hold and experience the textures, nuances, and details that will bring your next project to life.
Find a rep.
Reach out and connect with a Wilsonart representative who can address the needs or questions specific to your project.
Where to buy.
Whether you are designing the perfect home or working on a commercial project, Wilsonart® products can be found across the globe.
Sign In
Register